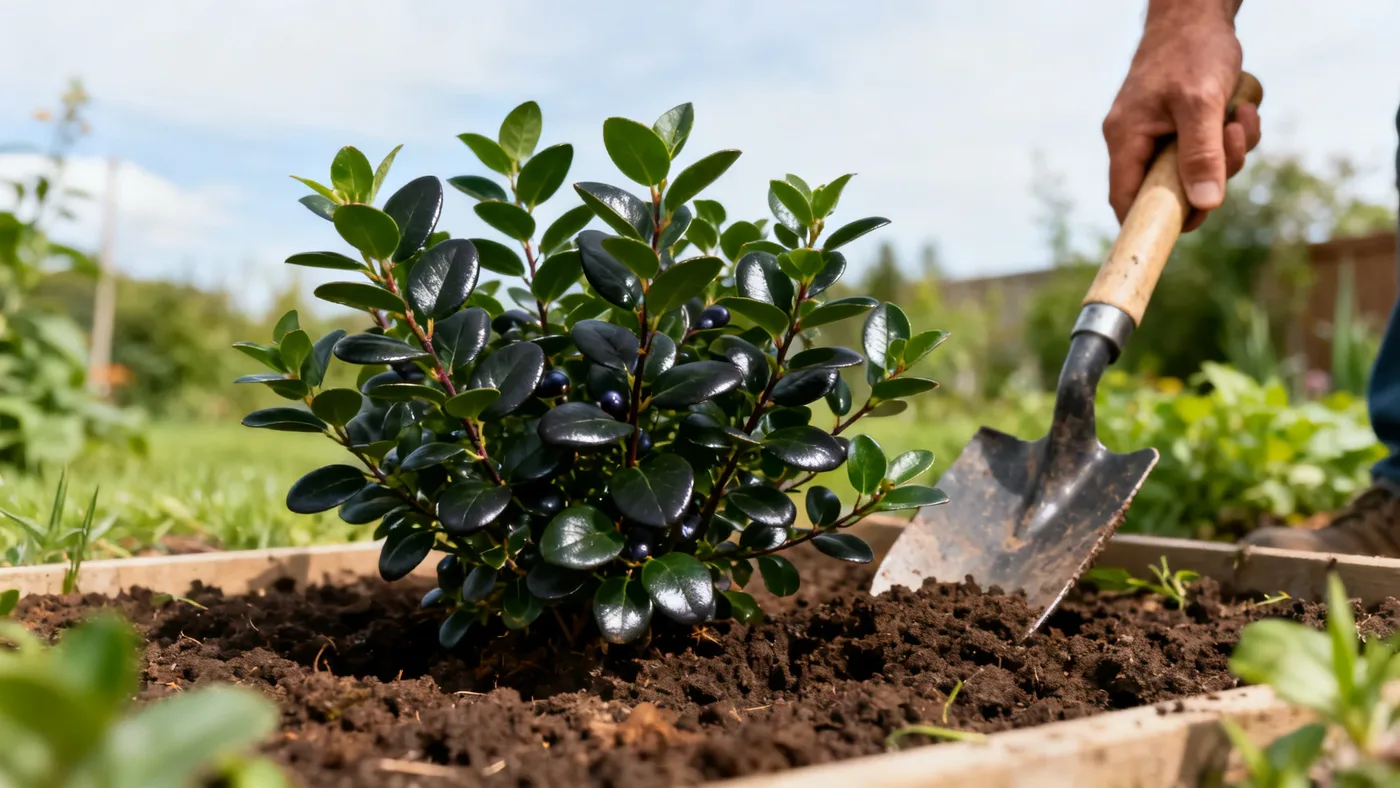
How to Plant a Chokeberry Bush: Site, Timing and Steps
Planting a chokeberry bush (Aronia melanocarpa) is straightforward enough that home gardeners and landscapers of any experience level can do it successfully. This guide walks you through site selection, the best time to plant, and the exact steps that set your new shrub up for healthy growth and outstanding fall color.
Choosing the Right Site
Chokeberry bushes are remarkably adaptable, but a few site factors will determine how well yours performs.
Sunlight
Plant your chokeberry in full sun to part shade. Full sun yields the best fall color and heaviest berry production, so if you have a choice, choose the sunnier spot. The shrub will still grow and flower in part shade, but the red-to-orange-red fall foliage you buy this plant for may be less intense.
Soil Conditions
Chokeberry tolerates clay, loam, or sandy soils. It does not require perfect conditions. The plant prefers consistently moist soil and actually thrives in poorly drained or wet areas, a legacy of its native range in Eastern North American swamps and bogs. Once established, it will tolerate moderate drought, so you have flexibility after the first growing season.
Ideally, aim for soil that is acidic to neutral (pH 5.0 to 7.0). If your soil is strongly alkaline, you may see chlorosis (yellowing of the leaves) later, but this is manageable with micronutrient amendments. If you are unsure of your soil pH, your local extension service can test it.
Drainage and Water Access
Unlike many ornamental shrubs, chokeberry does not demand well-drained soil. In fact, it handles wet soil far better than most plants. This makes it an excellent choice for rain gardens, low-lying garden areas, or spots where water tends to collect. If you are planting in a true swamp or very consistently saturated zone, chokeberry will likely thrive.
When to Plant Chokeberry
The optimal planting window is early spring or fall. Both seasons give the shrub time to establish roots before summer heat or winter cold stress.
Spring Planting
In zones 3 to 6, plant in early spring as soon as the ground is workable and soil is no longer soggy. Typical timing is March through mid-April, though this varies by your zone and how fast the soil dries after winter snow and rain.
Fall Planting
Fall planting works equally well and often happens September through October in most zones. The cooler temperatures and frequent fall rains create ideal conditions for root establishment without the heat stress of summer. Fall-planted shrubs have the full winter to develop roots, giving them a head start when spring growth begins.
Avoid planting in mid-to-late summer or very late fall. Summer planting forces the new shrub to invest energy in leaf growth while it should be focusing on root development. Planting too late in fall does not allow enough frost-free days for the roots to begin establishing before winter dormancy.
Materials You Will Need
- A nursery-grown chokeberry plant (typically sold in quart, #1, or #3 containers)
- Soil amendments (peat moss, compost, or aged bark), optional but recommended
- A shovel or spade
- A watering can or hose
- Mulch (2-3 inches of shredded bark or compost)
- Balanced, slow-release fertilizer (optional, for the first spring after planting)
Step-by-Step Planting Instructions
Step 1: Prepare the Site
Clear any grass or weeds from an area roughly 3 feet in diameter. This gives the young plant room to grow without competition. Loosen the top few inches of soil with a spade or garden fork. If your soil is heavy clay or very sandy, work in 1 to 2 inches of compost, peat moss, or aged bark to improve its structure. This is optional if your soil is already fairly crumbly, but it helps the roots establish faster.
Step 2: Dig the Planting Hole
Dig a hole that is as deep as the root ball and slightly wider. The goal is a hole wide enough that you can set the plant in the center with 2 to 3 inches of space on each side. Do not dig the hole much deeper than the root ball; planting too deep can cause the shrub to settle and the stem to rot.
Step 3: Remove the Plant from Its Container
Water the chokeberry in its container a few hours before planting if the soil is dry. Tip the container on its side and gently slide the plant out. If it resists, run a knife around the inside edge of the pot. Once out, gently loosen the outer roots with your fingers, especially if the plant is root-bound (roots densely packed and circling the root ball). This encourages the roots to grow outward into the surrounding soil.
Step 4: Place the Plant in the Hole
Set the chokeberry into the hole so that the top of the root ball is level with the soil surface. The crown (where the stems meet the roots) should be at or just slightly above ground level. Backfill the hole halfway with the native soil you removed, then water gently to settle the soil and remove air pockets. Add the remaining soil and water again.
Step 5: Mulch Around the Base
Apply 2 to 3 inches of mulch (shredded bark or compost) in a circle around the base of the plant. Keep the mulch 3 to 4 inches away from the stem to prevent rot. Mulch moderates soil temperature and moisture, two critical factors for establishing new plants.
Step 6: Water Thoroughly
Water the newly planted chokeberry generously to ensure good soil contact around the roots. In the first year, water when the top inch of soil feels dry. During the growing season, this may mean watering every 7 to 10 days in average conditions, or more frequently during hot, dry spells. Reduce watering frequency in fall as growth slows.
Spacing for Multiple Plants
If you are planting multiple chokeberry bushes, space them 2 to 4 feet apart for hedging or mass planting. Space them wider, up to 6 feet or more, if you are planting the larger species form and want to give each shrub room to mature into a full, upright shape. The dwarf or groundcover cultivars remain more compact (1-2 feet tall, 2-3 feet wide at maturity) and can be planted closer together.
Common Planting Mistakes to Avoid
Planting Too Deep
The most frequent mistake is setting the plant deeper than it was growing in the nursery. This can cause the base of the plant to rot, especially in wet soils. Keep the top of the root ball level with the finished soil surface.
Overwatering Initially
While chokeberry tolerates wet soil, newly planted shrubs still need a balance. Soggy soil with no oxygen will kill young roots. Water when the top inch of soil is dry, not every day. Let the soil dry slightly between waterings in the first few weeks.
Skipping Mulch
Mulch is not essential, but it reduces watering frequency and moderates soil temperature swings, both of which help a new plant establish faster. A 2-to-3-inch layer around the base (but not touching the stem) is a simple, proven investment.
Planting in the Wrong Season
Mid-summer or very late fall planting forces the shrub to struggle. Stick to early spring or fall for the best results.
Choosing a Spot Without Enough Light
Chokeberry tolerates part shade, but deep shade will reduce flowering and fruiting. If you want the showy berries and striking fall color this plant is known for, prioritize a site with at least 4 to 6 hours of direct sun.
What to Expect After Planting
A newly planted chokeberry will focus on root establishment in its first year. Above-ground growth may be modest, roughly 6 to 12 inches in a year. Do not be alarmed if leaf growth is slower than you expected; the plant is building a strong root system.
By the second year, you should see noticeably more vigorous growth and may see the first flowers and small berries. The shrub typically flowers within 2 to 3 years of planting and reaches its full mature size in roughly 3 to 5 years.
Fall color typically develops 4 to 6 months after planting if you planted in spring. A fall-planted shrub will display its first bright fall foliage the following autumn.
Once your chokeberry is established, refer to our complete growing guide for ongoing care and seasonal maintenance.
Quick Reference: Planting Checklist
| Task | Details |
|---|---|
| Best planting season | Early spring or fall |
| Hardiness zones | 3 to 9 |
| Sun requirement | Full sun to part shade; full sun for best color and berries |
| Soil type | Adaptable (clay, loam, or sand); acidic to neutral (pH 5.0-7.0) |
| Spacing | 2-4 feet apart for mass planting; wider for species form |
| Hole depth | Level with the top of the root ball |
| Mulch depth | 2-3 inches, kept 3-4 inches away from the stem |
| First-year watering | When top inch of soil is dry; typically every 7-10 days |
| Expected first-year growth | Roughly 6-12 inches; focus on root establishment |
| First flowers | Typically within 2-3 years of planting |
| Full mature size | Roughly 3-5 years; species form 3-6 ft tall/wide; dwarf 1-2 ft tall/2-3 ft wide |