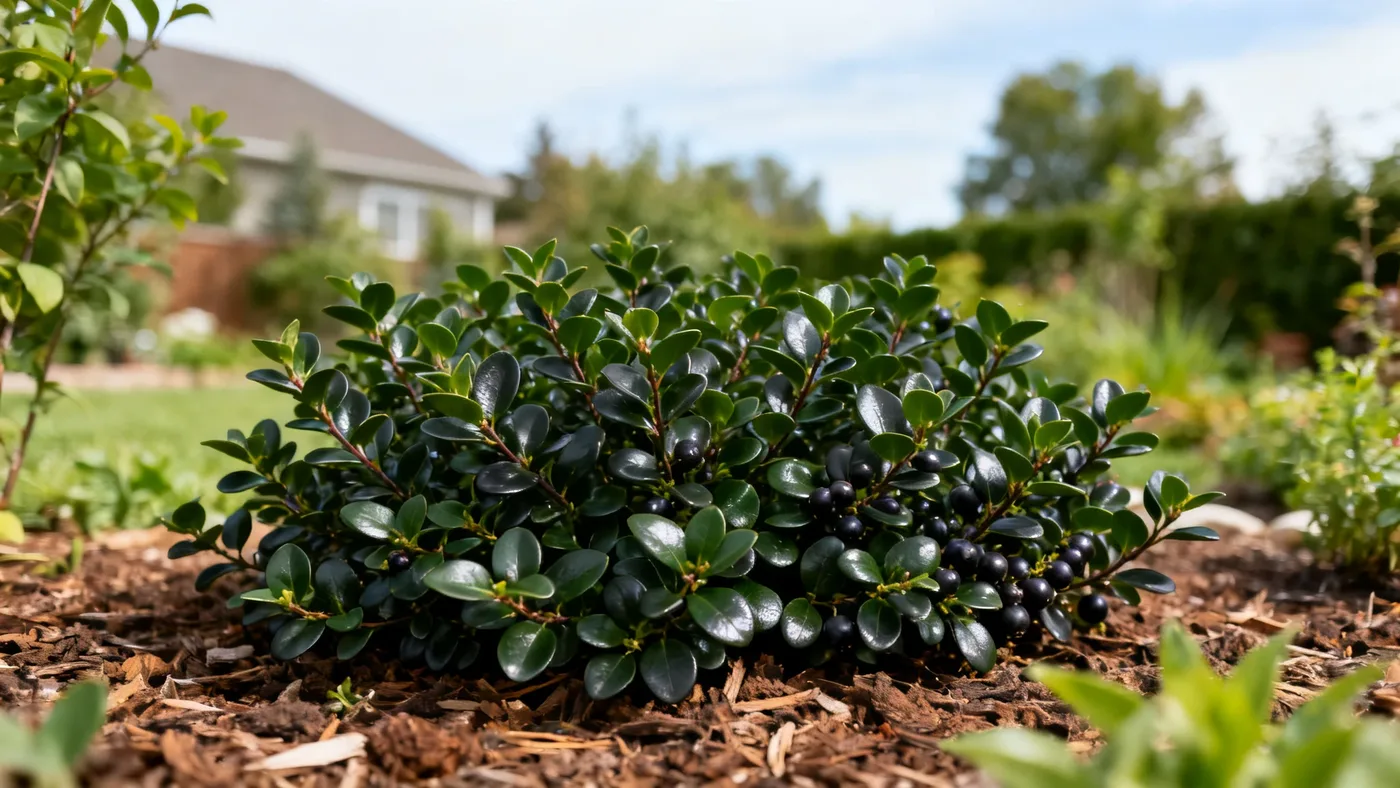
How to Propagate Chokeberry Bush by Division or Cuttings
Chokeberry Bush (Aronia melanocarpa) is one of the easiest shrubs to multiply from existing plants. Whether you want to fill a landscape quickly, expand a native planting, or share plants with neighbors, propagating by division or softwood cuttings gives you genetically identical plants that will perform exactly like the parent. Both methods work reliably for home gardeners with minimal equipment.
Understanding Your Propagation Options
Chokeberry propagates by three methods: softwood cuttings, division of rooted suckers, and seed. For home gardeners, division and cuttings are the fastest and most reliable routes to a mature, flowering plant. Seed requires cold stratification and takes longer to reach bloom stage, so we'll focus on the two vegetative methods.
Division works especially well because chokeberry naturally produces rooted sucker shoots from the base. These are already on their own roots, so planting success is nearly guaranteed. Softwood cuttings are ideal if you want numerous plants from a single parent or prefer not to disturb the original shrub.
Timing: When to Propagate
Success depends on choosing the right season. Chokeberry blooms in mid to late spring (April to May, depending on your zone). Plan your propagation work for early spring or fall, the same windows when you would plant nursery-grown shrubs.
For division: Early spring before active growth, or fall after leaf drop, work best. In zones 3-6, propagate in early spring or September through October. In zones 7-9, fall propagation gives plants time to establish roots before winter.
For softwood cuttings: Take cuttings in late spring or early summer, roughly 4 to 6 weeks after the bloom flush ends. This timing captures new shoots that are firm enough to handle but still actively growing. Avoid taking cuttings during the peak heat of midsummer.
Propagation by Division
Division is the easiest method for most home gardeners. It works because chokeberry naturally develops rooted suckers at the base of the plant, especially in the species form. These suckers are independent plantlets ready to separate and transplant.
What You'll Need
- Sharp spade or pruning saw
- Well-draining potting soil or garden soil mixed with compost
- Containers (3-gallon or larger) or a prepared planting bed
- Watering can or hose
- Pruning shears
Step-by-Step Division Process
Step 1: Select and Expose the Sucker. Look at the base of your chokeberry plant for shoots emerging from the ground within a few inches of the main stem. Choose one or two healthy, vigorous suckers at least 6 to 12 inches tall. Use a spade to carefully expose the roots by digging around the base. You'll often find these rooted shoots already have their own small root system.
Step 2: Sever the Sucker. Once you can see where the sucker attaches to the main root system, use a sharp pruning saw or spade to make a clean cut. Cut as deep as needed to separate the sucker's own roots from the parent. A single 2 to 4 inch section of root attached to the sucker increases success significantly.
Step 3: Prepare the New Plant. Remove any damaged roots with pruning shears. If the sucker has multiple stems, you can leave them all or thin to one strong shoot. Remove the lowest leaves, leaving 3 to 4 sets of healthy leaves on the top.
Step 4: Plant Immediately. Place the divided sucker in a pot filled with moist potting soil, or transplant directly into a prepared garden bed. The roots should sit at the same depth they occupied before. Firm the soil gently around the roots to eliminate air pockets.
Step 5: Water and Protect. Water thoroughly after planting. For the first 2 to 3 weeks, keep the soil consistently moist (not waterlogged) to help the division establish new feeder roots. Partial shade for the first week protects newly divided plants from transplant stress.
Propagation by Softwood Cuttings
Softwood cuttings allow you to generate multiple plants from a single parent branch. This method takes slightly longer than division but produces more plants from less disturbance to the parent shrub.
What You'll Need
- Sharp pruning shears or a clean knife
- Potting soil or a sterile seed-starting mix
- Small pots or a propagation tray with drain holes
- Rooting hormone powder (optional but recommended)
- Plastic bag or propagation dome to maintain humidity
- Watering can with a fine mist or spray bottle
Step-by-Step Cutting Process
Step 1: Collect Cutting Material. In late spring or early summer, select new growth from the current season. Choose shoots that are green but beginning to firm up. Cut 4 to 6 inch segments from branch tips. Make cuts just below a leaf node (the bump where leaves emerge). Each cutting should have at least 3 to 4 leaf nodes.
Step 2: Prepare the Cutting. Remove leaves from the lower half of the cutting, leaving 2 to 3 sets of leaves on the upper portion. If leaves are large, cut them in half lengthwise to reduce moisture loss without removing photosynthetic tissue. Keep the cutting moist by placing it immediately in water or wrapping it in a damp paper towel.
Step 3: Apply Rooting Hormone (Optional). Dip the cut end in rooting hormone powder. While chokeberry will root without it, rooting hormone improves success rates and speeds root emergence. Tap off excess powder.
Step 4: Plant in Growing Medium. Fill a pot with moist potting soil. Make a small hole with your finger or a pencil, then insert the cutting so the lowest leaf node is at or just below soil surface. Firm the soil gently around the cutting. The cutting should stand upright but not be rigid.
Step 5: Create Humidity. Place the pot inside a plastic bag or under a propagation dome to maintain high humidity. This reduces water loss through the leaves while roots develop. Ensure the bag does not touch the foliage constantly (this invites fungal issues). Prop it up with small stakes or a frame if needed.
Step 6: Provide Bright, Indirect Light. Place the cutting in bright, indirect light. A north-facing window or shade cloth is ideal. Avoid direct sun, which can overheat the humid environment and scorch the cutting.
Step 7: Monitor and Mist. Check the cutting every 2 to 3 days. The soil should be consistently moist, but not soggy. Mist the cutting lightly if condensation inside the bag disappears, but avoid daily spraying that keeps the foliage perpetually wet. After 3 to 4 weeks, you should see new growth or feel resistance when gently tugging the cutting, indicating roots are forming.
Step 8: Transition to Normal Conditions. Once new growth appears, gradually increase air circulation. Begin opening the bag for a few hours each day, then remove it entirely over 1 to 2 weeks. Continue misting daily until new leaves harden off. At this stage, the cutting can move to normal indoor light conditions or outdoors in a sheltered spot.
Common Mistakes to Avoid
Taking cuttings too late in the season. Late-season or woody cuttings (thick, gray stems) rarely root. Stick to tender, green new growth in late spring through early summer.
Allowing soil to dry out. Both divisions and cuttings need consistent moisture for the first few weeks. A single dry spell can kill newly developing roots. Check soil moisture every 2 to 3 days.
Overwatering to the point of saturation. Waterlogged soil excludes oxygen and rots roots before they form. The soil should be moist to the touch but not muddy.
Exposing cuttings to direct sun too soon. New cuttings lack roots and cannot pull water from soil fast enough to replace what sun evaporates. Keep them in bright, filtered light for the first 3 to 4 weeks.
Forgetting to remove lower leaves. Leaves buried in the soil rot and invite disease. Remove all foliage from the lower third of the cutting.
What to Expect
Division typically produces a flowering plant within 2 to 3 years. Since divided suckers already have an established root system, they often flower the same season if separated in early spring, though smaller blooms are common in the first year.
Softwood cuttings take longer. Rooting generally occurs in 4 to 8 weeks. A well-rooted cutting transplanted to larger soil in late summer may produce a small bloom the following spring, though most rooted cuttings won't flower reliably until their second or third year of growth.
All propagation methods produce plants genetically identical to the parent, so they retain the cultivar's specific mature size and habit. Species-form chokeberries typically reach 3 to 6 feet at maturity. Compact cultivars like the Low Scape types mature at 1 to 2 feet.
Space propagated plants at least 2 to 4 feet apart if planting for mass coverage or hedging, wider if you want specimens to develop their full rounded form. Chokeberry grows at a slow to moderate rate (roughly 6 to 12 inches per year), so spacing wider than 4 feet leaves gaps for several seasons.
Quick Reference: Division and Cutting Checklist
| Task | Division Timing | Cutting Timing | Expected Root Development |
|---|---|---|---|
| Optimal season | Early spring or fall | Late spring to early summer | Varies by method |
| Cutting material depth | 6-12 inches tall sucker | 4-6 inch soft green stem | n/a |
| Initial care (weeks 1-3) | Keep soil consistently moist | Keep soil moist, high humidity | 2-4 weeks (cuttings) |
| First-year flowering | Possible (spring divisions) | Unlikely | n/a |
| Full maturity | 3-5 years | 3-5 years | n/a |
| Spacing in landscape | 2-4 feet apart (mass planting) | 2-4 feet apart (mass planting) | n/a |
For comprehensive care after propagation succeeds, see our complete growing guide, which covers soil, water, pruning, and seasonal management for established plants.