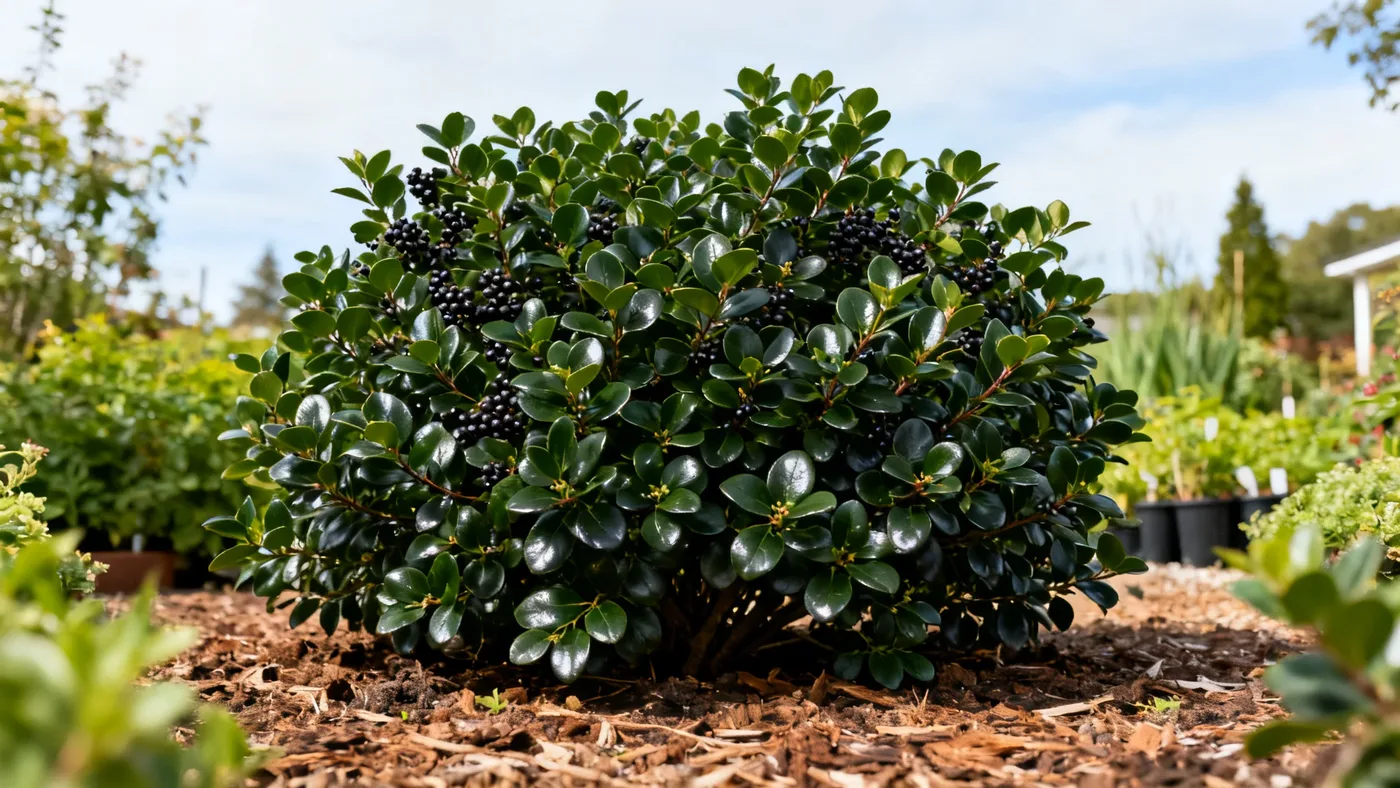
Fertilizing Chokeberry Bush: What, When and How Much
Chokeberry bush (Aronia melanocarpa) is a remarkably low-maintenance shrub that doesn't demand heavy feeding. However, understanding the basics of fertilizing chokeberry bush can help you achieve more vigorous growth, richer fall color, and a fuller harvest of those persistent dark berries. This guide covers everything you need to know about the best fertilizer for chokeberry bush and when to fertilize aronia melanocarpa throughout the growing season.
Why Fertilize Your Chokeberry Bush
Chokeberry bush is a native shrub from eastern North America that thrives in a range of soil types. Because it's adapted to challenging conditions, it's not dependent on regular fertilizing. That said, annual light feeding in early spring can encourage stronger branching, support healthy flowering and fruiting, and help new plantings establish more quickly. Established plants (those in the ground for 3 years or more) rarely show a visible need for fertilizer if they're in decent garden soil.
New plantings and plants in poor or depleted soil will respond positively to a balanced, slow-release application. Young plants typically flower within 2 to 3 years of planting, and they reach full mature size in roughly 3 to 5 years. Supporting them during this establishment phase with a modest fertilizer dose helps ensure they reach their potential.
Choosing the Right Fertilizer for Chokeberry Bush
The best fertilizer for chokeberry bush is a balanced, slow-release formulation. Here's what you should look for:
- NPK ratio: Choose a balanced ratio such as 10-10-10, 12-12-12, or similar. These three numbers represent nitrogen (N), phosphorus (P), and potassium (K). Balanced ratios support overall plant health without promoting excessive soft growth.
- Slow-release formulation: Slow-release fertilizers break down gradually over weeks or months, feeding your shrub steadily rather than all at once. This mimics natural nutrient cycling and reduces the risk of burn.
- Granular or pellet form: Granular slow-release fertilizers are easiest to apply evenly around the base of the plant. Liquid fertilizers work too, but require more frequent applications (typically every 2 to 4 weeks).
- Optional organic choice: If you prefer organic options, look for slow-release formulations made from fish meal, bone meal, or composted plant matter. These feed soil microbes as well as the plant.
Avoid high-nitrogen formulas (anything with the first number significantly higher than 10). Excess nitrogen can encourage leafy growth at the expense of flowers and berries.
When to Fertilize Aronia Melanocarpa
Timing matters when establishing a chokeberry bush fertilizer schedule. The ideal window is early spring, shortly after new growth emerges.
Spring application (March to April, zone-dependent): Apply fertilizer as soon as you see fresh leaf growth breaking dormancy. This timing gives the plant nutrients during its most active growth phase and supports flower bud formation for that season's blooms. Chokeberry bush flowers arrive in mid to late spring (April to May, depending on your zone), so an early-spring feeding sets the stage.
For new plantings: Apply a light dose of slow-release fertilizer at planting time in early spring or fall, then follow up with a second light dose in late spring (May to June) if the plant appears slow to establish. After the first growing season, move to a single annual spring application.
Established plants (3+ years old): One annual spring application is sufficient. Chokeberry bush is adapted to average garden soils and doesn't need summer or fall feeding. Late-season feeding can actually delay dormancy and make new growth vulnerable to early frost, particularly in zones 3 to 5.
If your soil was tested and found to be deficient in specific nutrients (such as iron in strongly alkaline conditions), targeted amendments can help address chlorosis or poor color, but general-purpose fertilizing once per year remains the standard approach.
Step-by-Step Fertilizing Instructions
What you'll need:
- A balanced, slow-release fertilizer (10-10-10 or similar ratio)
- A hand cultivator or small shovel
- Measuring cup or scale (depending on product recommendations)
- Work gloves
- A watering can or hose
Step 1: Choose the right timing. Wait until early spring, when new growth is visible on the branches. This is typically March to April in most zones, though it may be earlier (February) in zones 8 to 9 or later (May) in zones 3 to 4. Avoid fertilizing after mid-June.
Step 2: Check the label. Read the product instructions for the amount to use based on your plant's size and the product's concentration. Most balanced slow-release granules call for 1 to 3 tablespoons per foot of plant height, or a similar measure by plant spread. For a 2-foot dwarf cultivar, this might be 2 to 6 tablespoons total.
Step 3: Clear the base. Remove any mulch or debris from around the base of the plant in a circle extending 6 to 12 inches from the stem (depending on the plant's mature width: species forms typically 3 to 6 feet wide, dwarf cultivars 2 to 3 feet wide). Exposing bare soil helps the fertilizer make contact with the root zone.
Step 4: Apply the fertilizer. Sprinkle the measured amount evenly around the base of the plant, keeping the granules at least 4 to 6 inches away from the stem itself. Work the granules gently into the top inch of soil with a hand cultivator or fingers. Avoid piling fertilizer directly against the trunk, which can cause burn.
Step 5: Water thoroughly. Water the area well after applying the fertilizer. A good soaking (1 to 1.5 inches of water) helps dissolve the outer coating of slow-release granules and carries nutrients into the root zone. If rainfall is expected within 24 hours, light watering is sufficient.
Step 6: Replace mulch (optional). Once the soil has dried slightly (usually within a day or two), you can replace any mulch you removed, keeping it an inch or two away from the stem.
Tips for Best Results
- Less is more: Chokeberry bush is a low-input plant. It's better to under-fertilize than to over-fertilize. If you're unsure, apply half the recommended dose in the first year and observe the plant's response.
- Water is critical: Slow-release fertilizers need moisture to break down and deliver nutrients. If spring is unusually dry, water the plant after fertilizing and again every 7 to 10 days until spring rains return. Established plants tolerate moderate drought once the growing season is underway, but they still need water to use fertilizer effectively.
- Adjust for soil type: If your soil is sandy and drains very quickly, split the spring application into two smaller doses (one in mid-March and another in mid-April) to reduce leaching. If your soil is clay and stays moist, a single spring dose is fine.
- Don't fertilize in fall: Resist the temptation to fertilize in autumn, even if growth seems slow. Fall feeding can delay dormancy and expose tender new leaves to early frost, which is a particular concern in zones 3 to 5.
- Container-grown plants: If your chokeberry bush is in a pot, it benefits from slightly more frequent feeding because nutrients leach out with regular watering. Use the same fertilizer type, but apply every 6 to 8 weeks during the growing season (spring through early summer), rather than just once in spring.
Common Mistakes to Avoid
- Over-fertilizing: Excessive fertilizer can cause soft, leggy growth that's more prone to pests and diseases, and it may actually reduce fruiting. Stick to the label recommendation or slightly less.
- Using quick-release fertilizer: Conventional water-soluble or fast-acting fertilizers deliver a nutrient spike that chokeberry bush doesn't need and can burn foliage. Slow-release formulas are safer and more effective.
- Fertilizing too late in the season: Late-summer or fall applications confuse the plant's natural dormancy cycle. Keep all feeding to spring only, with a possible light second dose in late spring for very new plantings.
- Applying fertilizer to dry soil: Spreading granules on parched soil wastes the product because it won't activate. Water the soil first, apply the fertilizer, then water again.
- Piling fertilizer against the stem: Fertilizer that touches the trunk or crown can burn living tissue and create an entry point for disease. Always maintain a 4 to 6 inch buffer zone.
- Ignoring chlorosis: If leaves yellow despite green veins (chlorosis), the issue is typically high soil pH, not nitrogen deficiency. In that case, adding more general fertilizer won't help. A soil test and targeted iron chelate application are better solutions.
Expected Results
With appropriate fertilizing, you can expect stronger, fuller branch development, especially in the first 2 to 3 years. You may see more abundant flowering in mid to late spring and better fruit set by late summer and fall. Established plants frequently display more vivid fall foliage color (one of chokeberry bush's standout features) when supported with good nutrition. New plantings typically grow at a rate of roughly 6 to 12 inches per year under good conditions, and they may accelerate slightly with consistent spring feeding.
Changes take several weeks to become visible. Slow-release fertilizers work gradually, not overnight. By mid-summer, you should notice fuller branching. By the following spring, the plant should show stronger growth and more abundant flowers.
For more detailed guidance on caring for your chokeberry bush year-round, see our complete growing guide.
Quick Reference: Fertilizing Checklist
| Task | Timing | Details |
|---|---|---|
| Choose fertilizer | Before spring | Balanced, slow-release formula (10-10-10); granular or pellet form preferred |
| Apply spring dose | Early spring (March-April, zone-dependent) | 1-3 tablespoons per foot of plant height; work into soil 4-6 inches from stem |
| Water after application | Immediately after fertilizing | 1-1.5 inches of water to activate slow-release coating |
| Second dose for new plants | Late spring (May-June), if needed | Optional light application for plants in poor soil; skip in subsequent years |
| Monitor for results | Mid-summer onward | Fuller branching, more flowers, better fall color expected by next season |
| Never fertilize | Summer and fall | Avoid after mid-June to prevent delaying dormancy |